Grid
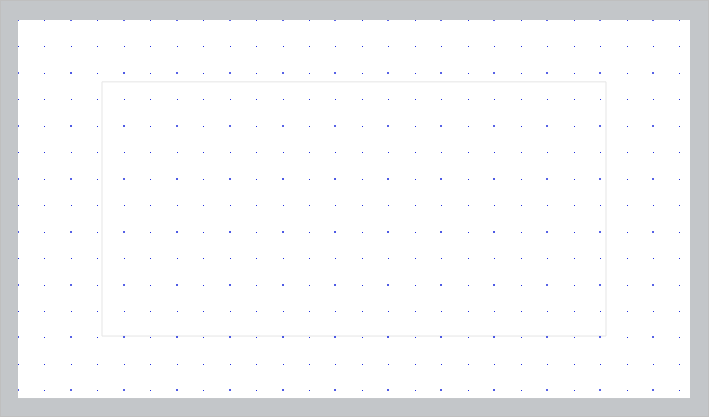
The grid is designed for precise positioning of objects and guides on the slide. It divides the slide into vertical and horizontal lines, displayed as dotted lines. Objects and guides that you move on a slide follow these lines and snap to them when you finish moving.
The grid is only visible on slides, but snapping to it works outside of slides as well.
The grid is not visible in slide show or when printing a presentation.
When working with the grid, you can:
–Display and hide the grid.
–Enable and disable object snapping to the grid.
–Adjust the spacing between gridlines.
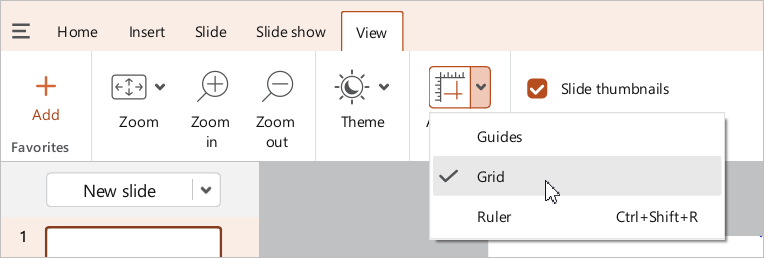
To quickly display the grid and enable object snapping to the grid, on the View tab, click the arrow to the right of the  Alignment button and select the Grid checkbox. To hide the grid and disable snapping, clear this checkbox.
To open the grid settings, on the View tab or on the Sidebar, click Alignment.
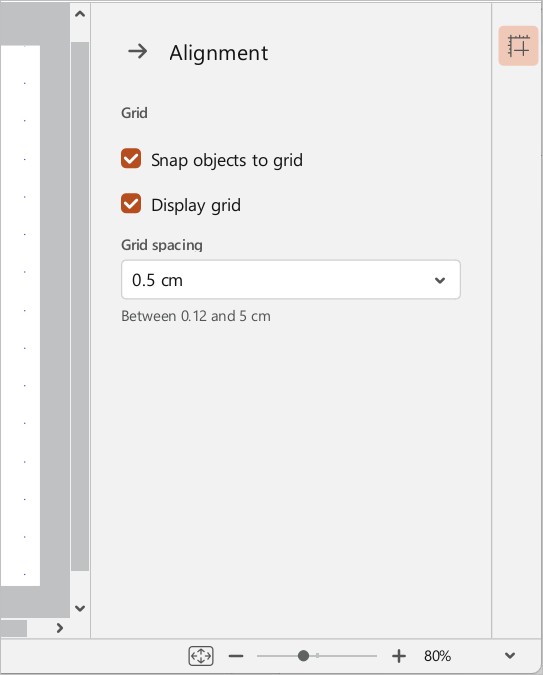
The Alignment pane will open, containing the following settings:
–Snap objects to grid: If this checkbox is selected, objects and guides will snap strictly to grid lines when moved. Objects are snapped to the grid along their top and left edges. If the checkbox is cleared, objects can be placed anywhere on the slide.
–Display grid: If the checkbox is selected, the grid is displayed on the slides; if cleared, it is hidden. This setting does not affect the snapping of objects to the grid.
–Grid spacing: Increase or decrease the spacing between the gridlines. The value ranges from 0.12 to 5 cm and is selected from a drop-down list.
To close the Alignment pane, click  Alignment on the Sidebar.
If you need to quickly hide or display the grid and guides on your slides, press Shift+F9.