Complete event creation
To complete the creation of the event, click event creation window button Create and select the necessary notification option for the invited participants:
–Send: Attendees of the event will automatically receive generated invitations to the created event.
–Do not send: Disable the sending of event notifications to attendees' email addresses.
–Cancel: Return to the event creation form.
Event time and language in the invitation email for attendees from the Colleagues address book (users with internal email addresses) will be indicated accordingly to the recipients settings.
The created event will appear in the calendar, in the cell with the corresponding date, and will be colored in the color of the calendar in which the event was created.
After clicking Create, a message may appear:
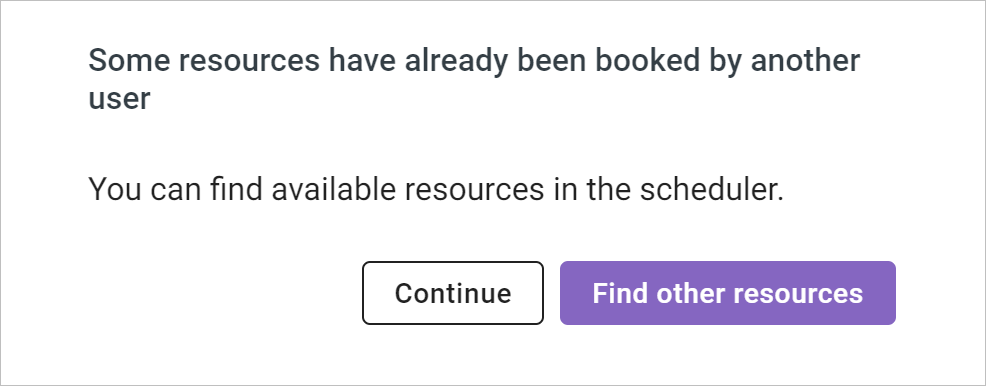
This means that by the time the Create button is clicked, some of the resources you selected have been booked for other events. Select the appropriate button:
–Find other resources: To return to the event creation window and select other resources.
–Continue: To complete the creation of the event, despite the resource being busy. The event will be created, and the organizer will receive a warning about the resource being busy in the automatically generated booking results email.