Message header pane
The message header pane looks as follows.
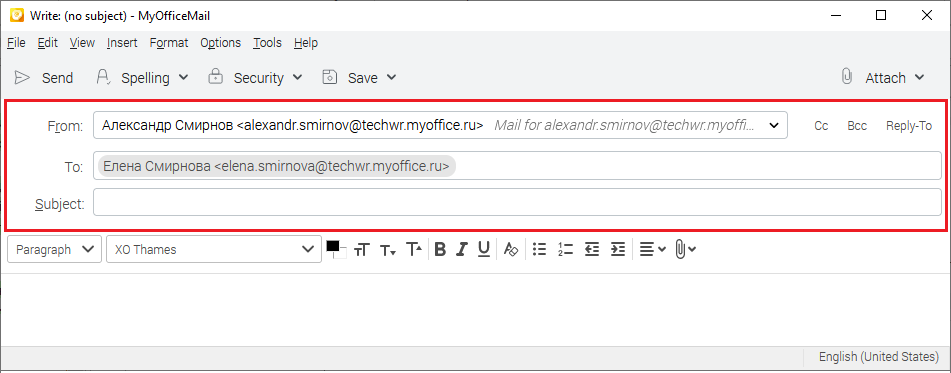
From (Sender)
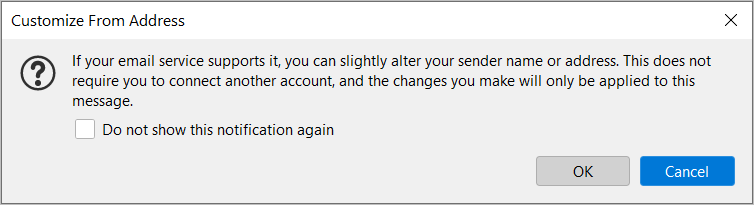
This field is mandatory. The From field contains the sender's name and mailing address. In most cases, the field is filled in automatically. If you have multiple accounts connected, you can change the sender by selecting a different name and address from the drop-down list. Edit name and address You can edit the name and address specified in the From field. To do this, proceed as follows: 1.Left-click in the From field. 2.Select the Customize From Address command in the opened list. The Customize From Address dialog box opens:
3.Click OK. The window will close and the From field will enter the editing mode. 4.Make the necessary changes.
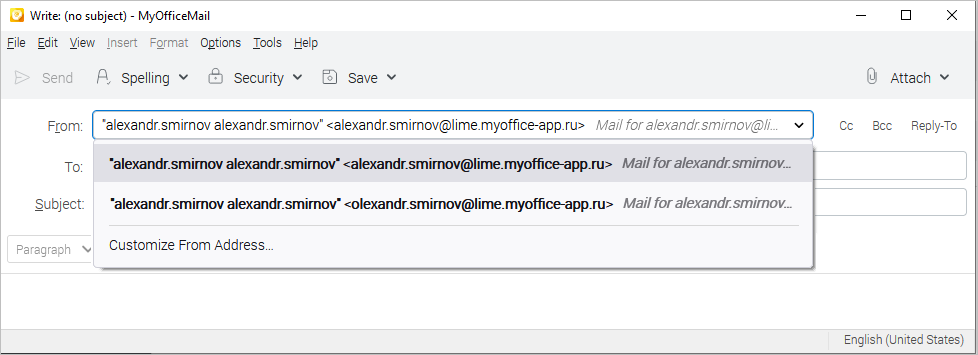
Alias usage Sometimes you may need to send emails from different addresses within the same account. For example, it can be useful for: •Gaining additional privacy. •Customizing the receipt of emails with certain topics. •Sorting incoming messages by certain characteristics (mailings, news from companies). •Sending emails from an address other than your primary one. In such cases, mail aliases are used, which are additional mail addresses associated with the user's mail account. The aliases are added by the administrator and sent to the user via a email with the following content: Administrator has added an email alias to you: Available aliases are not displayed in the account settings, but can be used when sending an email. If there are aliases for the account, they appear in the From field drop-down list below the main account address and can be selected to fill in the From field:
In the Inbox folder, emails received to both the primary and alias addresses at the same time are displayed as a single email. |
Reply-to
The Reply-To field contains the address that will appear in the recipient's field To when responding to an email. Displaying the Reply-To field is adjustable by the |


To
This field is mandatory. The To field contains one or more email recipient addresses. In the process of typing a name or address, a list of prompts from the address book appears, allowing you to select a recipient without further typing. You can also select a recipient from the Contacts sidebar. Open the Contacts sidebar, select the desired address book and double-click the contact to add it as a recipient. You can move recipient addresses between the To, Cc, and Bcc fields. Use one of the following methods: 1.Right-click the selected recipient item, then choose Move to Cc, Move to Bcc, or Move to To from the context menu. The target address field will automatically be shown if it was hidden. 2.Press Ctrl+X/ 3.Drag the recipient pane to the desired field using the mouse. |

Сс and Bcc
The Cc field contains a list of additional recipients to whom the email will also be sent, in addition to the main recipient. By default, the field is hidden, but its display can be adjusted with the The Bcc field is similar to the Cc field except that the recipient will not have access to the list of these recipients, only the sender of the email will see it. Hidden copies are often used in mass mailings to keep the mailing list hidden from the rest of the recipients. Displaying the Bcc field is adjustable by the You can also open the Cc and Bcc fields from the File menu of the message window: 1.View > Cc field Ctrl+Shift+C/⇧Shift+⌘Cmd+C. 2.View > Bcc field Ctrl+Shift+В/⇧Shift+⌘Cmd+B. To perform actions related to the email address, open the context menu by right-clicking. The following actions will be available: 1.Edit address: The cursor appears, the address can be edited. 2.Delete, Cut, Copy: Standard actions with text. 3.Move to To: Move the address to the To field. 4.Move to Cc: Move the address to the Cc field. 5.Move to Bcc: Move the address to the Bcc field. 6.User information: A dialog box opens with brief information about the user. |


Subject
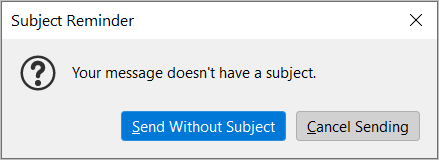
The Subject field contains the subject of the email. If you don't enter a subject, a reminder will appear when sending. Click Send Without Subject if you agree with this. Click Cancel Sending if you want to go back and fill in the Subject field.
|