Create a new task
1.Click the New task button at the top of the Taskbar. Fields for entering information about the task will appear.
2.Enter the name of the task to be created in the Name field (the allowed length of the task name is from 1 to 255 characters).
3.Select the task list in which the task will be created.
4.If needed, set the priority of the task by clicking the Priority button and selecting a value from the list: Low, Normal, High.
5.If needed, set a reminder about the task by clicking the Reminder button and specifying the date and time of the reminder in the window that appears. To delete a reminder, click the
  button located to the right of the reminder time. To set additional notifications, click the Add reminder button and specify the desired data.
6.Confirm the creation of the task by pressing Enter on the keyboard or the  button to the right of the task name. To cancel the task creation operation without saving data, click the
  button located to the right of the task name.
The created task will be added to the specified task list in the To do status. You can change the status of the task by opening the task for viewing.
Create a task with additional parameters
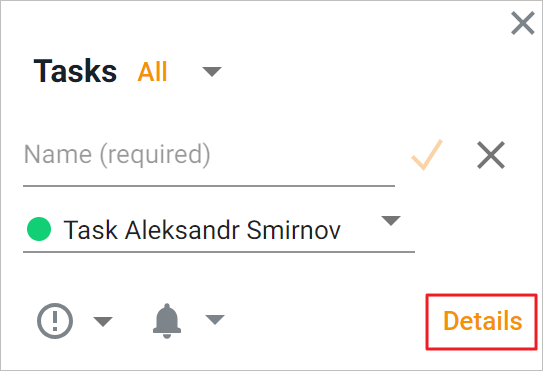
1.To open the task parameters input pane, use one of the following methods: •When creating a task quickly (see above), click the Details button:
•Hover the cursor over the name of the task list in which you want to create a new task, and click the 2.Enter the name of the task. 3.When creating a task in another user's task list, uncheck/uncheck the Receive notifications box. If the check box is selected, notifications about changes to the task made by any user with access will be sent to the mail. The Receive notifications check box is displayed only when creating a task in the task lists of other users to whom access has been granted, or in their own lists to which other users have been granted access.
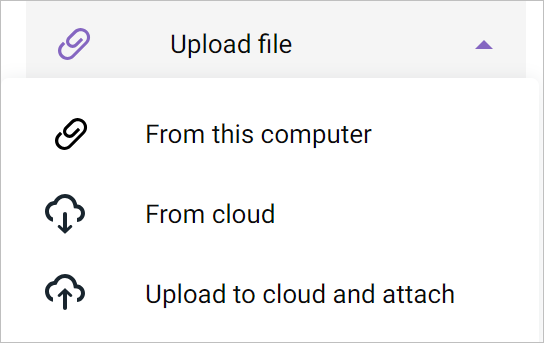
4.Enter the data in the Description field (the maximum length of the text in the Description field is 500 characters). 5.If the task has a specific completion time, click the Add a due date button and specify the date and time. To delete a task due date, click the 6.If needed, set a reminder about the task. To do this, click the Add reminder button and specify the date and time of the reminder in the fields that appear. To delete a reminder, click the 7.If there are several task lists, select the list in which the task will be created. 8.If needed, set the priority of the task by selecting a value from the list. 9.If needed, enter the data in the Location line (the maximum length of the text in the Location is 500 characters). 10.If needed, add an attachment by clicking the Upload file button and selecting from where you want to attach the attachment: From this computer, From cloud, Upload to cloud and attach.
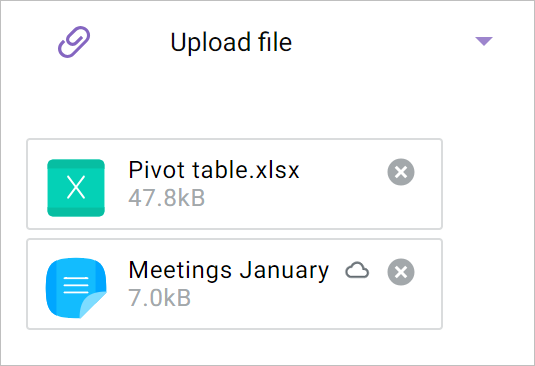
11.Perform the same action as for adding an attachment to an email. The total size of attachments should not exceed 10 MB. A file attached to the task or a link to a file in the cloud will be displayed as rectangles. The attachment can be deleted by clicking the
12.Confirm the creation of the task by clicking the Create button in the upper-right corner of the task settings input pane. To interrupt the operation of entering additional parameters, click the If you try to close the web browser or force a restart of the tab where the task creation pane is open, a system message will appear about the available unsaved data.
|

 button.