Accounts
The profile setting section contains the following sections:
1.Personal information:
•The account deletion button is displayed only for additional accounts added by the user.
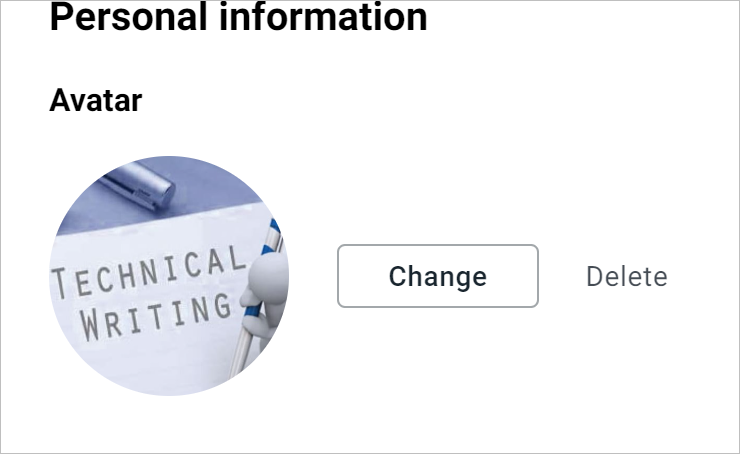
•Avatar: Allows to display, change and delete the user's avatar.
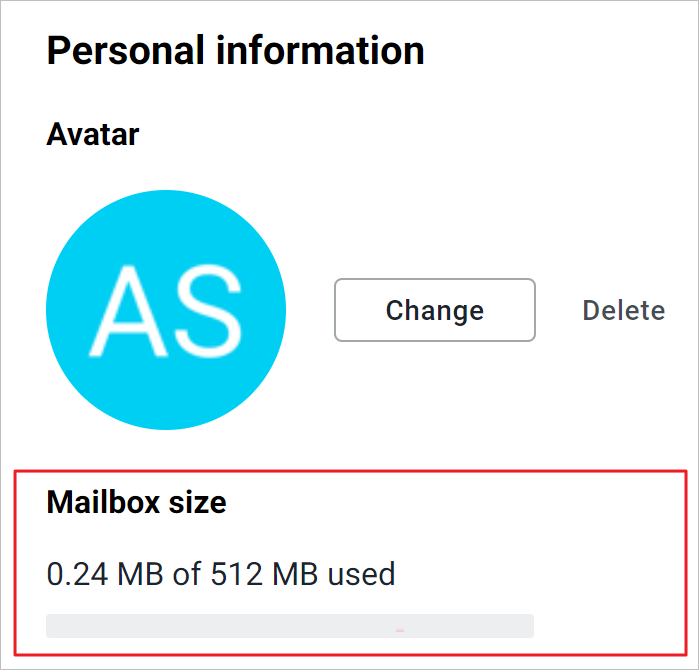
•Mailbox size: This section is not available when installing MyOffice Mail and MyOffice Private Cloud together).
•Change password: When installing MyOffice Mail and MyOffice Private Cloud together, this section is not available and it is displayed only for the main account.
•Sender details (name and signature): Allows to set up the name and signature as the recipients will see them.
2.Folders: Tools for assigning standard folders, as well as for adding, deleting, and renaming created folders.
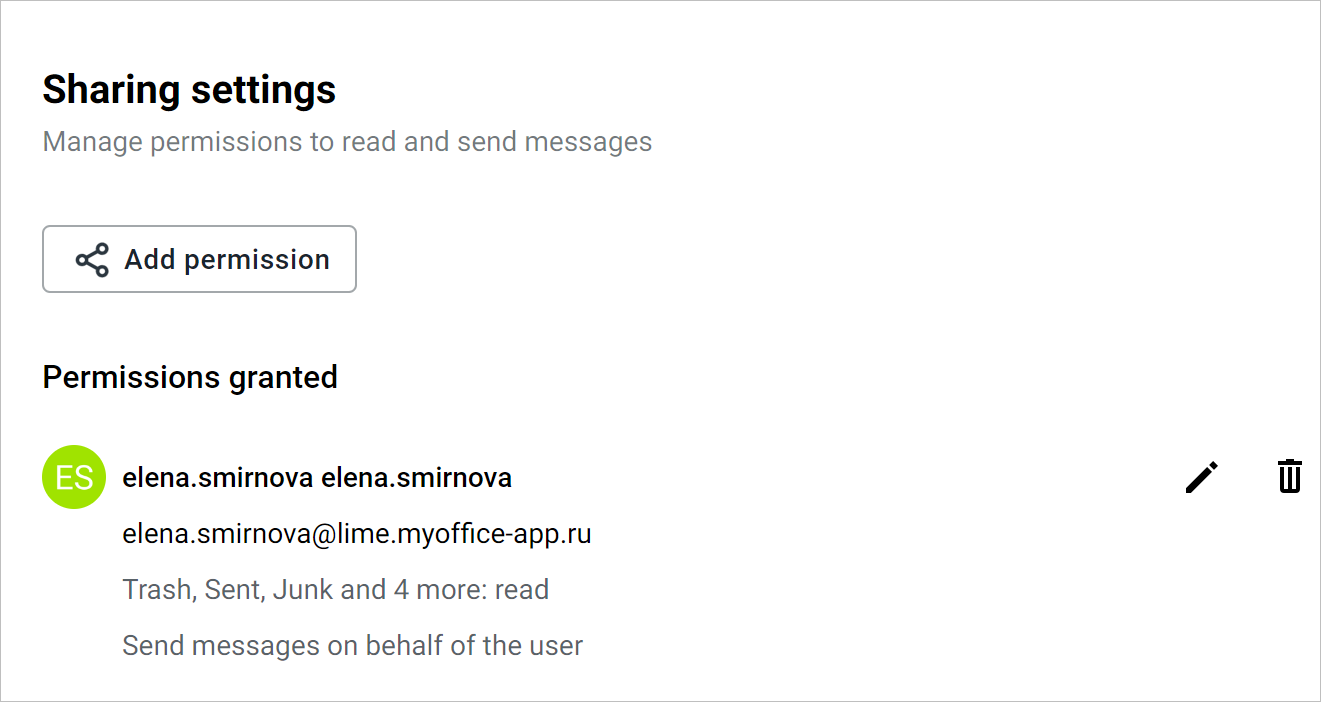
3.Shared access: Setting up permissions to view and send emails.
4.Filters: Adjust filters for processing incoming emails.
5.Forwarding: Allows to automatically forward emails.
6.Autoresponder: Allows to configure the automatic response.
7.Tags: Set up tags that help classify emails by type and importance.
Avatar
To upload/edit/delete a photo displayed as an avatar of an active user, do the following: 1.Select the desired account in the settings section and go to the personal information section: •To upload/edit a photo, click the Edit button. •To delete a photo, click the Delete button. 2.In the form that opens, click the Upload image button, after which the standard system file selection window opens on the screen. 3.Specify the desired file located on the fixed or external media of the user's device, and click Open, after which a window will appear on the screen to select the displayed area. 4.Specify the area of the image that will be displayed on the avatar by moving the mouse over the image that falls into the highlighted window. You can reduce or increase the area displayed on the avatar by using the scroll bar located under the image. 5.To return to the system window for selecting a file to upload a new image, click the Upload Image button and repeat steps 3 and 4. 6.To return, click Cancel. 7.To save the changes, click Save, and then confirm the changes by clicking Save at the bottom of the settings screen. As a result of the operation, the selected area of the uploaded image will be displayed: •In the Personal information section:
•In the Navigation bar in settings or applications MyOffice Mail, MyOffice Calendar, MyOffice Contacts:
•On the mini-panes of emails received from the user:
•On the mini-panes of contacts in MyOffice Contacts, including when creating events in MyOffice Calendar. •When viewing a received/sent email (in the Reading pane or in a new browser tab), when hovering over the sender's name:
•When viewing contact information in the Reading pane:
You can also access the avatar settings from the main application window of MyOffice Mail, MyOffice Calendar, and MyOffice Contacts using the |


Mailbox size
When installing MyOffice Mail and MyOffice Private Cloud together, the mailbox size is not displayed.
Each user is allocated a limited amount of mailbox (quota). To view the size and current available and occupied space of the mailbox, select the desired account in the settings section and go to the Personal information section. The data will be specified in the Mailbox size section located under the user's Avatar.
If the volume of emails in the user's mail: •Approaching the set limit: a notification will be displayed in the upper part of the window that the mailbox space is running out, as well as the percentage of mailbox filling. This notification is a warning, the user can continue to work with MyOffice applications. The warning can be hidden by clicking the •Have reached the size of the allocated quota: A notification will be displayed in the upper part of the window that the storage space for emails is running out. The warning can be hidden by clicking the If several accounts are connected and all of them run out of quota, then several warnings will be displayed (no more than three warnings). If more than three mailboxes are connected and all of them run out of quota, then the fourth and subsequent warnings will be displayed after the previous ones are closed. To free up free space, delete unnecessary emails or contact your system administrator for help to increase the quota size. |

Change the password
When installing MyOffice Mail and MyOffice Private Cloud together, there is no password change function, and the Change password section is not displayed.
The user can independently (without contacting the administrator) change the password of their account MyOffice Mail. You can change the password only for the main account, and there is no Change password button for additional accounts. To change the account password, do the following: 1.Click the Change password button. The Change password form opens. 2.Enter the current account password in the Current password field (the button 3.Enter the new account password in the New password field. 4.Confirm the new password by entering it again in the New password field. If the sequence of characters of both in the fields of entering the new password matches, the Save button will become active. 5.Click the Save button. If, after clicking the Save button, the New password field was highlighted with a red frame, and an infotip about password requirements appeared under the field, then the entered password does not meet the security requirements.
You should change the password, according to the infotip, enter the changed password in the New password field again, and click Save again.
|


Sender's details (name and signature)
When the administrator creates a user account, a profile is automatically created in the account settings, containing the user's first and last name, as well as the signature under the email. The user can edit this data at their discretion. This information will be visible to other users when receiving emails. Deleting the default profile is possible after creating a new profile, which will be automatically used instead of the created one. To add a new name and signature, do the following: 1.Select the required account in the settings section and go to the personal information section. 2.Click the New name and signature button. 3.In the pane that opens, enter the user's name in the Name field and the signature text in the Signature field. If necessary, format the signature text using the tools on the formatting pane. The system administrator can add a signature template with fields corresponding to the corporate requirements of the company, which should be edited in accordance with personal data. The option of edit the signature template can be disabled by the system administrator. 4.If needed, you can add an image (no more than two images for one signature) or a link. The maximum size of the image used in the caption is 640px. 5.Select the Default check box so that the selected signature is set automatically for all outgoing emails. 6.Click the Save button, and then confirm the changes by clicking the Save button at the bottom of the screen. 7.If necessary, select the active signature using the As a result of the operation, the generated signature will be automatically (if the Default check box is selected) added at the end of each outgoing email from the corresponding email address. To edit existing profile data, click the To delete the signature, click If necessary, the user can disable the addition of a signature to each outgoing email. To prevent the signature from being added to emails, select the Don't use signature in the email check box |
 button.


Folders
To configure the mailbox folder list, select the account for which the settings are being made and go to the Folder settings section. The Folders pane contains settings for displaying and sorting folders. |
Share hyperlink
The section is designed to provide and configure access to your mailbox or individual folders for other users. The pane contains a list of permissions, each of which can be changed or deleted. To edit an existing record, click
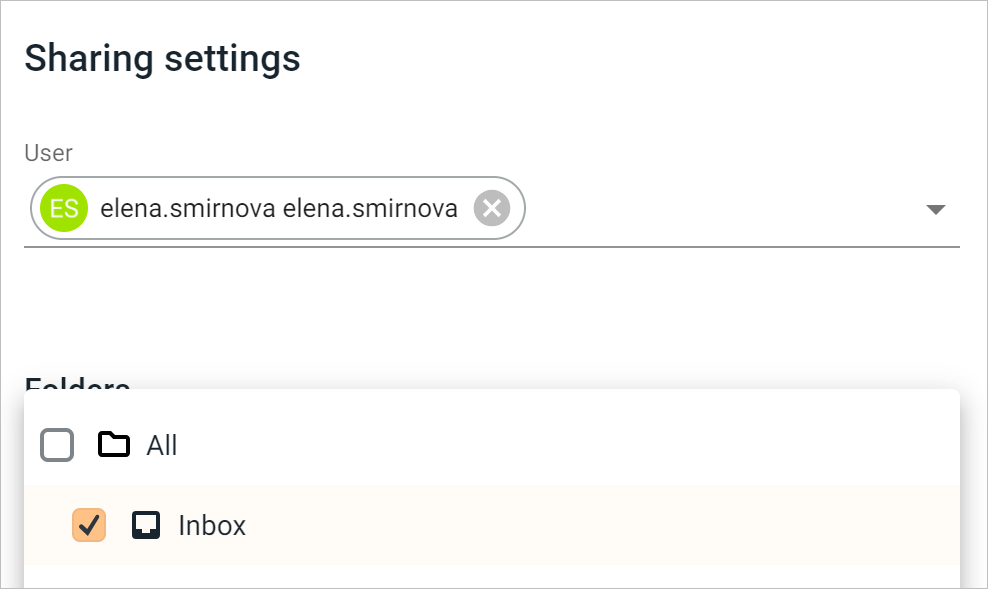
When you click the Add permission button. A dialog pane opens on the screen, allowing you to set permission for users to view and create emails for a list of selected folders.
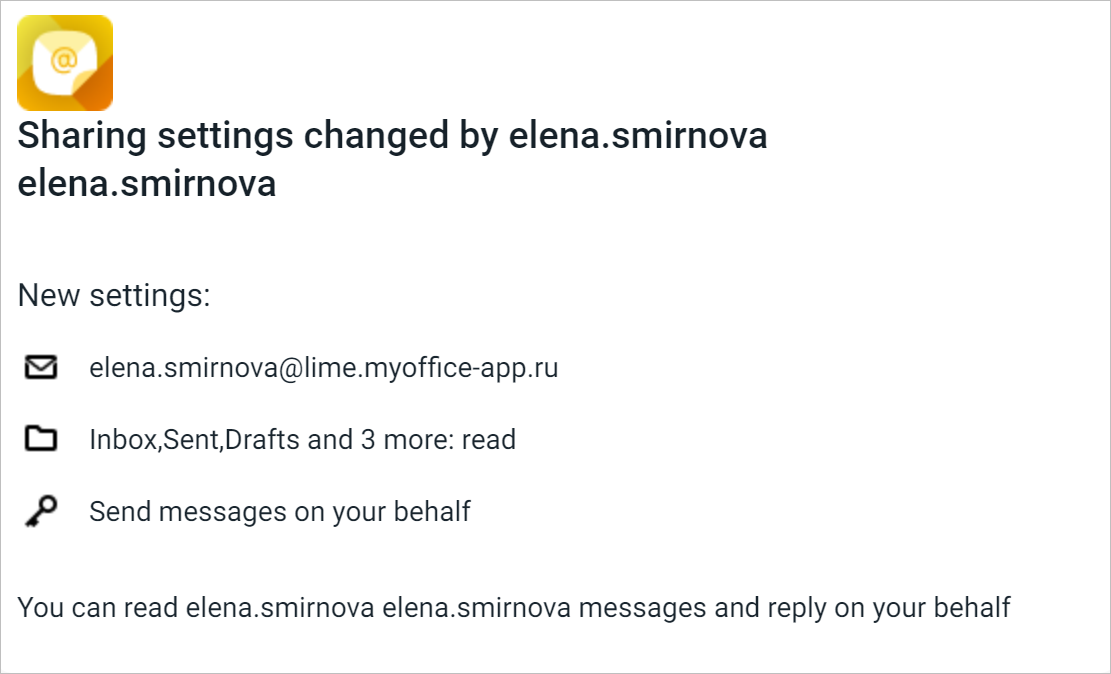
When you click the Save button, a new entry will be added to the list of permissions. The user who is granted access to the folders will receive a notification about the change in access settings.
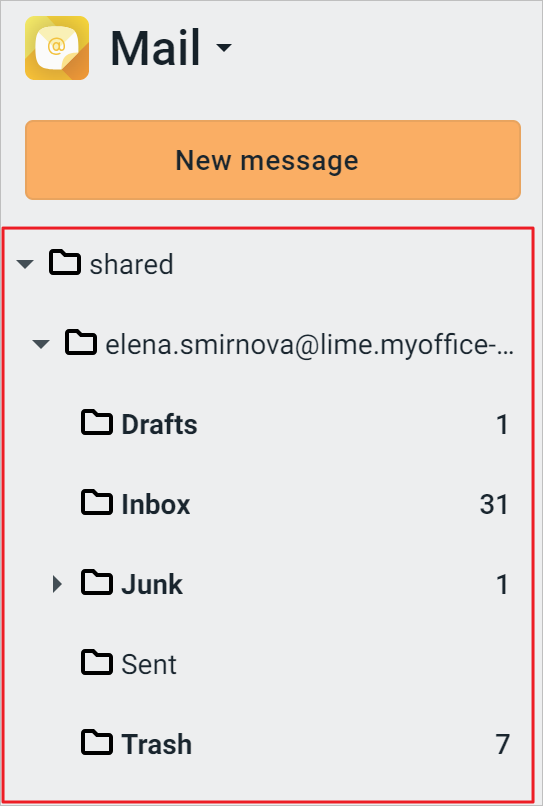
A section containing the provided folders will appear in the folder list of the user who has been granted access to the resources of another user.
The user can open the provided folders, view emails, reply to them, forward, etc. |
Filters
To simplify the processing of incoming mail, incoming emails can be automatically filtered and processed using user-defined conditions and rules. Filters are created and enabled/disabled in the Filters account settings section. The filters are applied to the message in the order of the filters in the list (from top to bottom). 1.Click the Add filter button. The New filter form opens. 2.Set the filter action condition in the field group If: •Select the message parameter to be checked by the filter from the drop-down list «From» field. •Select the required verification condition from the contains drop-down list: contains, matches, or does not contain. •Enter the text of the condition in the Specify header. 3.Set a rule for processing emails in a group of fields Then.To do this, in the Move to folder drop-down list, select the desired action for emails that meet the above condition. Next, if an action is selected: •Move to folder: In the field below, specify the folder for moving emails: Inbox, Sent, Drafts, Spam, Trash or folders created by the user. •Forward or Notify: Specify the recipient (email address) in the field below. •Send auto-reply: Enter the text of the auto-reply in the field below. •For the rest of the actions, you do not need to specify anything, so the field below is not displayed. 4.If necessary, select the Ignore filters below check box . If the check box is selected, the following filters will not be applied to the message that satisfies the filter condition. 5.Click the Save button. The filter creation form will close and the filter will appear in the filter list. Now that the filter is enabled, all emails that meet the filter condition will be processed according to the rule specified in the filter. Any filter in the list can be disabled/enabled by moving the slider on the left The order of applying filters can be changed by changing their order in the list (dragging the mouse to the desired position). Edit and delete a filter To edit conditions or delete a filter, do the following: 1.Hover the cursor over the filter line. The edit and delete buttons will appear on the right side of the line:
2.Click the appropriate button. 3.Next, if the button was clicked: • •
|


Forward
In the Forward section, you can configure the forwarding of emails from your email account. To automatically forward all emails from an account to another mailbox, do the following: 1.Enter the email address to which the emails sent to your current email address will be forwarded. 2.Select the Allow forward check box. 3.If you need to save copies of forwarded emails, select the Keep forwarded copies check box. 4.Click the Save button at the bottom of the screen. As a result of the operation, all emails received by the selected account will be automatically forwarded or duplicated (if the Keep forwarded copies check box is selected) to the email address specified in the Forward section. |
Auto-response
The settings for the auto-response are located in this section. This functionality can be used for automatic replies to senders (that the email has been accepted, about the employee's vacation, etc.). To set up an auto-response to all received emails, do the following: 1.Select the Enable autoresponder check box, after which the Subject and Text fields will become available on the tab. 2.Check the box Send replies in specific period (if necessary) and specify the interval for the autoresponder. 3.Enter the subject and text of the automatically sent email. 4.Click the Save button at the bottom of the screen. As a result of the operation, an email with the subject and text specified in the Autoresponder section will be automatically sent as a response to all incoming emails within the specified time period (if the Send responses within the specified period check box is selected and the corresponding data is specified). |
Tags
The section contains a list of labels that help classify messages by type and importance. When you hover the cursor over the line with the label, the Edit button appears |