Fill-in
The Fill-in field is used in contract templates, applications, and questionnaires and is intended for data entry. For example, in the figure below, the Fill-in fields are the parts of the template that are in bold.

To fill in these fields, you need to update the document. The screen will display a series of windows for data entry.
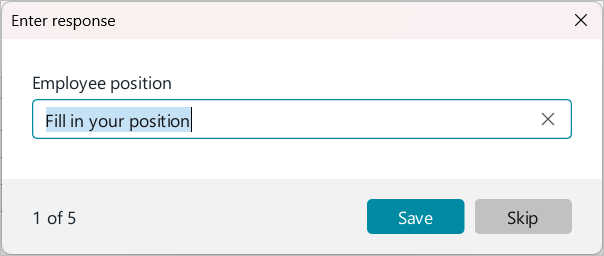
The structure of the Fill-in field:
| FILLIN [“Prompt_text”] [switches] |
Code example:
| FILLIN "Prompt_text" \d "Default_response" \ MERGEFORMAT |
Switches:
- \d inserts the default response text into the prompt.
- MERGEFORMAT retains formatting when updating the field. The current version of the application does not affect the Fill-in fields settings.
Limitations:
- Working with Fill-in fields is supported in .doc and .docx documents. Use of field switches is not supported in .odt and .xodt formats.
- The \o switch is not supported in Fill-in fields created in third-party editors.
- The maximum number of characters in the field code is 510.
To add a Fill-in field to a template, open the Field window, which is designed for inserting fields:
- Place the cursor where you want to insert the field in the template.
- On the Insert tab, click
 Fields.
In the Field window, specify the Fill-in field code in one of the following ways:
- Enter the data for generating the field code. The code will be generated automatically.
- Enter the code in the Code box manually.
- Select the switches and specify their values in the Field options window.
To specify data for generating a field code, do the following:
-
Open the Field window as described above.
-
In the Field type area, select Fill-in.
-
Enter the data to be displayed in the input window (see the fig. above), which will open when the Fill-in field is updated:
- In the Prompt text box, enter the text that will appear above the response box.
- If a default answer should be displayed in the response box, select the Fill in with default response checkbox.
- If the Fill in with default response checkbox is selected, enter the default response in the Response text box.
-
The Fill-in field code will be automatically generated in the Code box. Click OK.

- The screen will display a window for entering data into the created Fill-in field. Click Save.
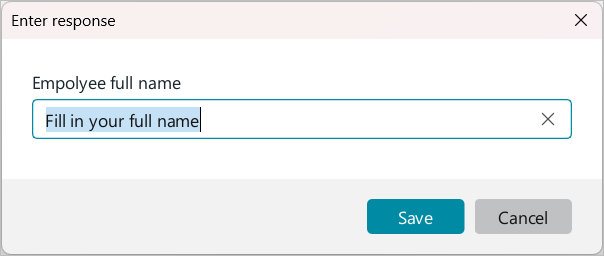
To specify the code in the Code box, do the following:
- Open the Field window as described above.
- In the Code box, enter the Fill-in field code manually.
- Click OK.
- The screen will display a window for entering data into the created Fill-in field (see fig. above). Click Save.
To select switches and specify their values in the Field options window:
- Open the Field window as described above.
- In the Field type area, select Fill-in.
- Click Field options.
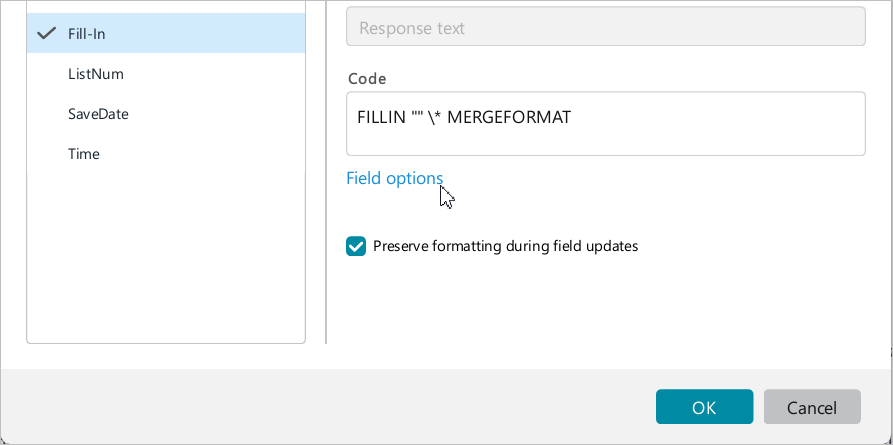
- In the Field options window:
- If you want the default response to be displayed in the Fill-in field entry window, select the \d switch checkbox. The switch will be added to the Code box.
- In the Code box, enter the prompt text and, if necessary, the default response text.
- Click OK.
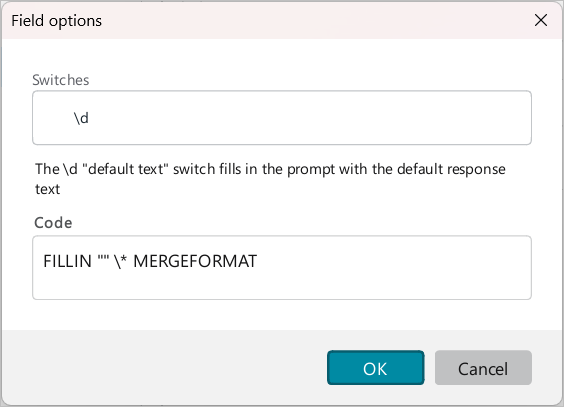
- In the Field window, click OK.
- A window will appear on the screen for entering data into the Fill-in field you created. Click Save.